Imagine sipping on a refreshing glass of homemade apple juice, made with just a few simple ingredients and minimal effort. You don’t need to be a skilled chef or have specialized equipment to enjoy this delicious and healthy drink. With a few easy steps, you can have a glass of freshly squeezed apple juice in no time.
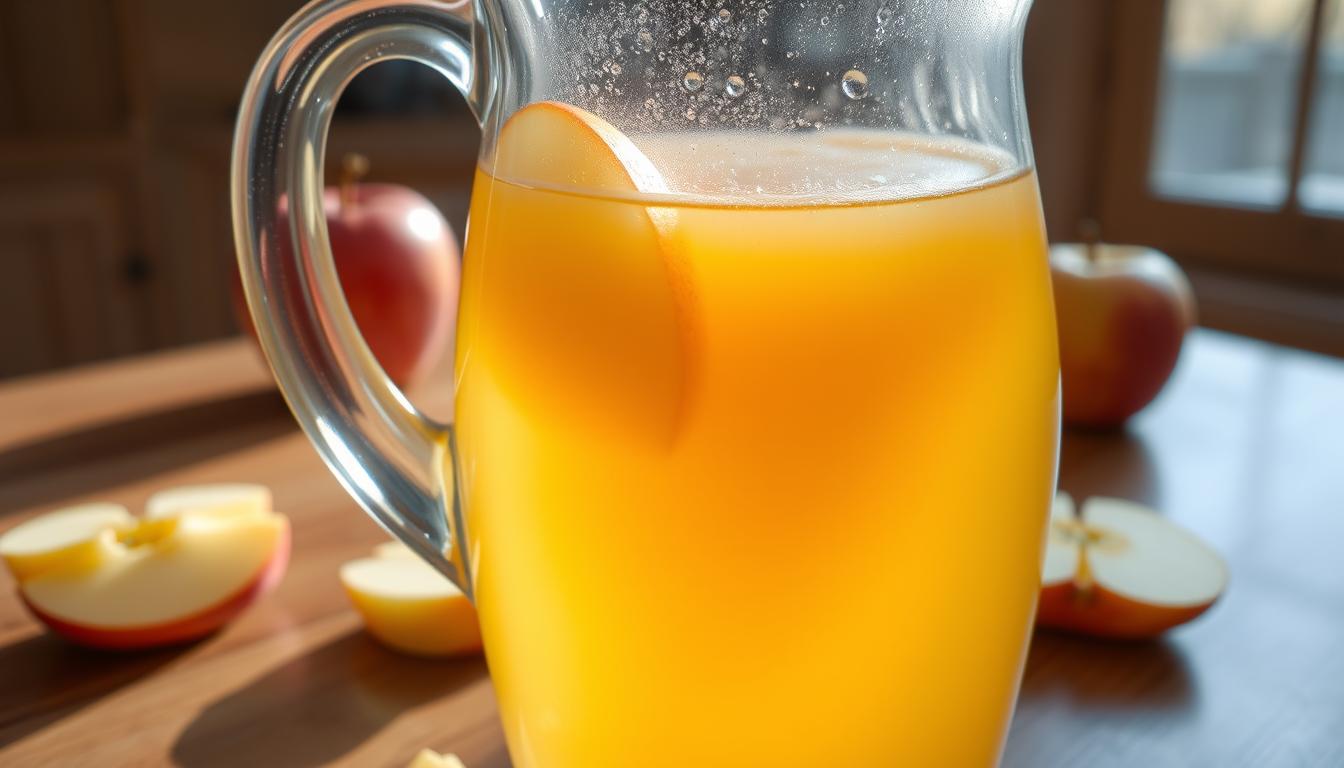
How to Make Apple Juice at home is not only quick but also allows you to control the ingredients and the level of sweetness. You can choose your favorite apples and adjust the recipe to suit your taste preferences. In just 30 minutes, you can have a glass of nutritious and tasty juice that’s perfect for any time of the day.
Key Takeaways
- Quick and easy recipe to How to Make Apple Juice
- Control over ingredients and sweetness level
- Customizable to your taste preferences
- Ready in just 30 minutes
- Nutritious and healthy drink option
Benefits of Making Your Own Apple Juice
Fresh apple juice made at home offers several benefits that are often lacking in commercial products. By making your own apple juice, you have control over the ingredients, sugar content, and flavor profile, ensuring a healthier and more personalized beverage.
Nutritional Advantages of Homemade vs. Store-Bought
Homemade apple juice retains more nutrients because it is consumed fresh, minimizing the loss of vitamins and minerals that occurs during processing and storage of commercial juices. Store-bought juices often undergo pasteurization and contain additives that can reduce their nutritional value. In contrast, homemade juice allows you to enjoy the full spectrum of apple nutrients, including fiber if you choose to include the pulp.
| Nutritional Aspect | Homemade Apple Juice | Store-Bought Apple Juice |
|---|---|---|
| Nutrient Retention | High, due to minimal processing | Lower, due to processing and storage |
| Additives | No additives or preservatives | Often contains additives and preservatives |
| Customization | Can be tailored to taste and dietary needs | Limited flavor and nutritional options |
Cost Savings and Environmental Benefits
Making your own apple juice at home can also result in cost savings and reduced environmental impact. Buying apples in bulk and using reusable containers for storage can significantly lower the cost per serving compared to purchasing commercial juice. Additionally, reducing reliance on packaged juices minimizes plastic waste and supports a more sustainable lifestyle.
Essential Equipment for Homemade Apple Juice
Having the right tools is crucial for making delicious apple juice. To get started, you’ll need some basic equipment that will help you extract juice from apples efficiently.
Basic Tools You’ll Need
The most fundamental piece of equipment for making apple juice is either a juicer or a blender. Both have their advantages, and the choice between them depends on your preference and the texture you desire for your juice.
Juicers vs. Blenders
A juicer is specifically designed to extract juice from fruits and vegetables, leaving behind the pulp. It’s the fastest way to make apple juice and results in a smoother texture. On the other hand, a blender can be used to make juice, but it will include the pulp unless you strain it afterward. Blenders are more versatile as they can be used for various kitchen tasks beyond juicing.
Straining Equipment
Regardless of whether you use a juicer or blender, you may want to strain your juice to achieve your desired clarity. A fine-mesh sieve or cheesecloth can be used for this purpose. These tools help remove any remaining pulp or sediment, resulting in a clearer juice.
Optional Equipment for Larger Batches
If you plan to make larger batches of apple juice, you might consider investing in additional equipment. A fruit press is an excellent tool for extracting juice from large quantities of apples. It’s a more traditional method that can result in a more authentic flavor. Some people also prefer using a food mill for this purpose, as it can handle both the juicing and straining in one step.
For those who plan on making juice regularly, having the right equipment can make the process much easier and more enjoyable. Consider your needs and the volume of juice you plan to make when deciding on the equipment.
Selecting the Best Apples for Juicing
The type of apples you select can significantly impact the flavor of your fresh apple juice. With numerous varieties available, understanding their unique characteristics is essential for creating the perfect apple juice recipe.
Apple Varieties and Their Flavor Profiles
Different apple varieties offer distinct flavor profiles, ranging from sweet to tart. The choice of variety can significantly affect the taste of your homemade apple juice.
Sweet Varieties
Sweet apples, such as Red Delicious and Gala, produce a milder juice that’s perfect for those who prefer less tartness. These varieties are great for creating a smooth, easy-drinking apple juice.
For example, Red Delicious apples are known for their sweetness and hint of vanilla flavor, making them a great choice for a sweet apple juice.
Tart Varieties
Tart apples like Granny Smith and Braeburn, on the other hand, yield a juice with a sharper taste. These apples are ideal for those who enjoy a more robust flavor in their apple juice.
Granny Smith apples, with their green skin and tart flavor, are particularly popular for juicing because they add a nice balance to the sweetness of other varieties.
Organic vs. Conventional Apples
When it comes to choosing between organic and conventional apples, the decision largely depends on personal preference and priorities. Organic apples are grown without synthetic pesticides and fertilizers, which may appeal to those looking to avoid these chemicals in their juice.
However, conventional apples can be just as good for juicing if they’re washed properly. The key is to ensure that your apples, whether organic or conventional, are fresh and of high quality.
“The best apples for juicing are those that are fresh and have a good balance of sweetness and acidity.”
Seasonal Considerations
The season can also play a role in the availability and quality of apples. Certain varieties are available only during specific times of the year, and their flavor profiles can vary depending on when they’re harvested.
For instance, early-season apples like Paula Red are available in late summer, while late-season apples like Fuji are harvested in late fall. Understanding these seasonal variations can help you choose the best apples for your juice.
| Apple Variety | Flavor Profile | Seasonality |
|---|---|---|
| Red Delicious | Sweet, mild | Late fall |
| Granny Smith | Tart, green apple flavor | Late fall |
| Gala | Sweet, hint of vanilla | Early fall |
Ingredients for Perfect Apple Juice
The key to delicious homemade apple juice lies in its simple yet crucial ingredients. To make a refreshing and healthy apple juice, you need to focus on the quality of the apples and any additional ingredients you choose to include.
Basic Apple Juice Recipe
For a basic apple juice recipe, you will need:
- 2-3 pounds of apples (depending on their size and juiciness)
- Water (optional, depending on your desired consistency)
You can adjust the quantity of apples based on the variety and your personal taste preferences. Some apples are sweeter and will require less additional sweetening, while others might be tart and need a bit more adjustment.
Optional Flavor Enhancers
To give your apple juice an extra boost of flavor, consider adding:
- A cinnamon stick for a warm, spicy flavor
- A few slices of lemon to enhance the juice’s brightness
- A hint of ginger for an extra kick
These optional flavor enhancers allow you to experiment and create unique variations of apple juice that suit your taste buds.
Preparation Steps – Getting Ready in 10 Minutes
Before you start juicing, it’s essential to prepare your apples properly. This preparation is crucial for ensuring your apple juice is not only delicious but also safe to consume. The process involves a few simple steps that can be completed in just 10 minutes.
Washing and Sanitizing
The first step in preparing your apples is to wash them thoroughly. Rinse the apples under running water to remove any dirt, bacteria, or pesticide residues. For an extra layer of cleanliness, you can use a fruit and vegetable wash. After washing, gently scrub the apples with a soft-bristled brush to remove any stubborn dirt. Finally, dry the apples with a clean towel or let them air dry.
Sanitizing your apples is crucial for removing any harmful bacteria that could contaminate your juice. A simple sanitizing solution can be made by mixing one part white vinegar with three parts water. Soak the apples in this solution for a few minutes before rinsing them again.
Cutting and Coring Techniques
Once your apples are clean and dry, the next step is to cut and core them. Start by cutting the apples into quarters. This makes it easier to remove the cores and seeds. Use a sharp knife or an apple corer to remove the cores. Cutting the apples into smaller pieces also helps in extracting the juice more efficiently.
For a more efficient juicing process, you can further chop the apple quarters into smaller chunks. The size of the chunks may vary depending on the juicing method you plan to use. For example, if you’re using a blender, smaller chunks are preferable.
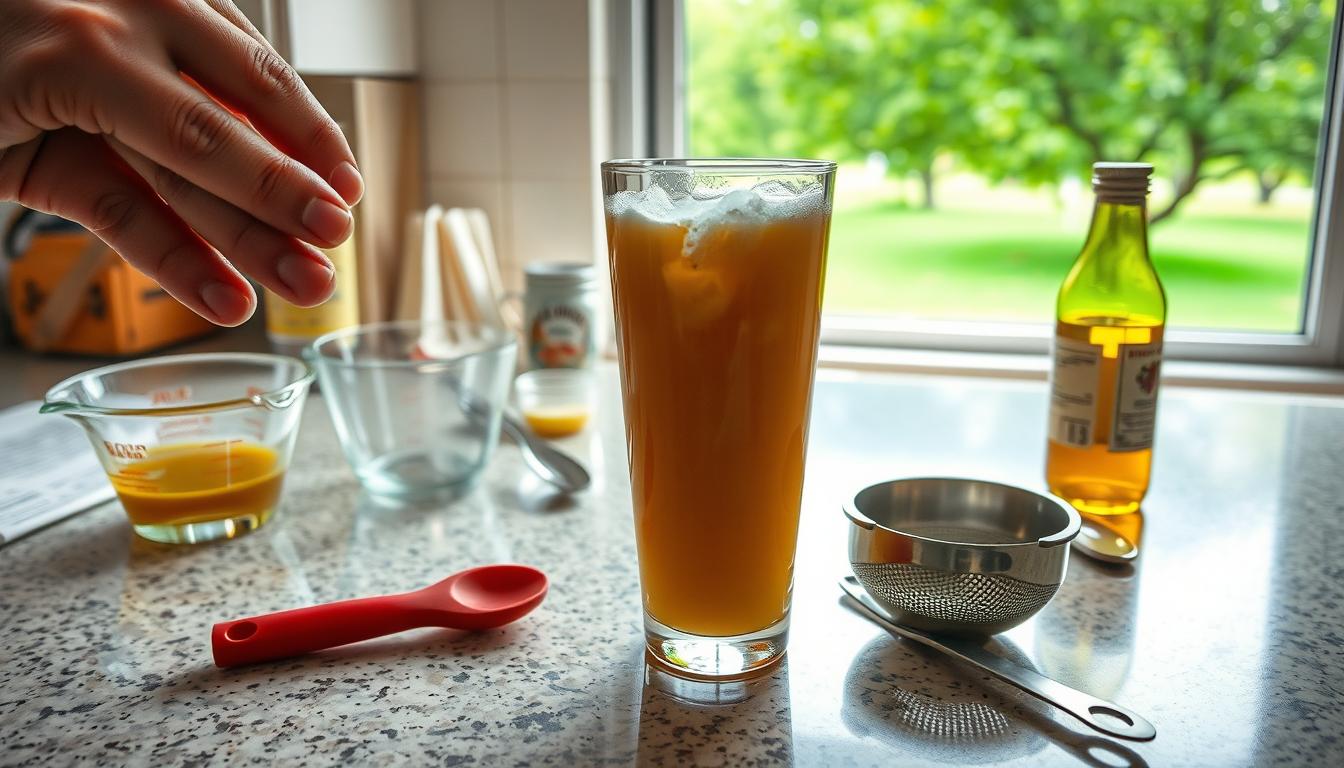
Pre-Juicing Treatments to Prevent Browning
To prevent your apple juice from browning, you can apply a pre-juicing treatment. One effective method is to sprinkle the cut apples with lemon juice. The acidity in the lemon juice helps to slow down the oxidation process that causes browning. Alternatively, you can soak the apple pieces in a saltwater solution (1 tablespoon of salt per 1 cup of water) for a few minutes before juicing.
Another option is to use an antioxidant product specifically designed for fruits. These products are available in most health food stores or online. Whatever method you choose, the goal is to minimize browning and preserve the natural flavor and color of your apple juice.
| Preparation Step | Purpose | Tips |
|---|---|---|
| Washing and Sanitizing | Remove dirt and bacteria | Use a fruit and vegetable wash for extra cleanliness |
| Cutting and Coring | Prepare apples for juicing | Cut into quarters or smaller chunks for easier juicing |
| Pre-Juicing Treatments | Prevent browning | Use lemon juice or saltwater solution |
How to Make Apple Juice Step by Step – The 15-Minute Process
Fresh apple juice is just 15 minutes away with our easy-to-follow guide on making apple juice at home. You can enjoy this delicious and healthy beverage by using one of three methods: a juicer, a blender, or a traditional press. Each method has its benefits, and we’ll walk you through the steps for each.
Using a Juicer Method – Fastest Approach
The juicer method is the fastest way to make apple juice. It extracts the juice directly from the apples, leaving behind the pulp and skin.
Electric Juicer Process
To use an electric juicer, simply wash and chop your apples, then feed them into the machine. The juicer will separate the juice from the pulp. For example, you can use a Breville Juice Fountain, a popular electric juicer known for its efficiency.
Yield and Efficiency Tips
The yield and efficiency of your juicer depend on the type of apples you use and the juicer’s quality. Generally, you’ll get more juice from sweeter apples. To maximize your yield, make sure to pack the juicer properly and use the right apple variety.
Blender Method – Budget-Friendly Option
If you don’t have a juicer, using a blender is a great alternative. This method involves blending the apples with a little water and then straining the mixture to extract the juice.
Blending Technique
To blend your apples, chop them into small pieces and add a small amount of water to help the blending process. Blend until you get a smooth consistency. You can use a high-powered blender like Vitamix for this purpose.
Straining Process
After blending, strain the mixture through a cheesecloth or a fine-mesh sieve to separate the juice from the pulp. This step is crucial for achieving a smooth juice.
Traditional Press Method – For Authentic Flavor
The traditional press method involves crushing the apples to extract their juice. This method is more time-consuming but yields a rich, authentic flavor.
To press your apples, you’ll need a fruit press or a hydraulic press. First, crush the apples to release their juice, then press the crushed apples to extract as much juice as possible. This method allows you to enjoy the full flavor of your apples.
By following these steps, you can make delicious homemade apple juice using the method that suits you best. Whether you’re using a juicer, blender, or traditional press, the key to great-tasting juice is using fresh, high-quality apples.
Straining and Filtering Your Juice – The Final 5 Minutes
Now that you’ve successfully extracted the juice from your apples, it’s time to refine it to your liking. Straining and filtering are crucial steps in achieving the perfect fresh apple juice. This process not only enhances the clarity and texture but also improves the overall taste by removing any remaining sediment or pulp.
Different Straining Methods
There are several methods you can use to strain your apple juice recipe. The most common include using a fine-mesh sieve, cheesecloth, or a dedicated juice filter. Each method has its advantages, depending on the equipment you have available and the level of clarity you desire.
- A fine-mesh sieve is a quick and easy option for removing larger particles.
- Cheesecloth or a nut milk bag can be used for a more thorough filtration, capturing finer sediment.
- A dedicated juice filter provides the most clarity and is ideal for those who want a professional finish.
Achieving Your Preferred Clarity
The clarity of your easy apple juice is a matter of personal preference. Some prefer their juice clear and sediment-free, while others enjoy a more rustic texture. To achieve a clearer juice, you can pass it through multiple layers of filtration or let it settle in the refrigerator before straining. For a cloudier juice, a single pass through a coarse filter may be sufficient.
Pasteurization Options
Pasteurizing your apple juice is a vital process that helps kill off harmful bacteria and extends its shelf life. When you make apple juice at home, you’re not just creating a refreshing drink; you’re also taking a step towards a healthier lifestyle by controlling what goes into your juice. One of the critical steps in this process is pasteurization, which ensures that your homemade apple juice remains safe to drink over time.
Pasteurization involves heating the juice to a high temperature for a short period, followed by rapid cooling. This process is crucial for killing pathogens that might be present in the juice. There are different methods to pasteurize your apple juice, and the choice often depends on the equipment you have available and your personal preference regarding the juice’s flavor and nutritional content.
Quick Heat Pasteurization Process
The quick heat pasteurization process is a straightforward method that involves heating the juice to a temperature of at least 160°F (71°C) for 15 seconds, then rapidly cooling it down. This method is effective in killing harmful bacteria without significantly affecting the juice’s taste or nutritional value. To achieve this, you can use a pot on your stovetop or a more sophisticated pasteurizer if available.
| Pasteurization Method | Temperature | Time |
|---|---|---|
| Quick Heat Pasteurization | 160°F (71°C) | 15 seconds |
| Cold Pasteurization | N/A | Varies |
Cold Pasteurization Alternatives
For those who prefer not to heat their juice, there are cold pasteurization alternatives. One such method is High Pressure Processing (HPP), which involves subjecting the juice to extremely high pressures to kill bacteria. Another method is using UV light, which can also be effective against pathogens. While these methods are effective, they might require specialized equipment that not everyone has at home.
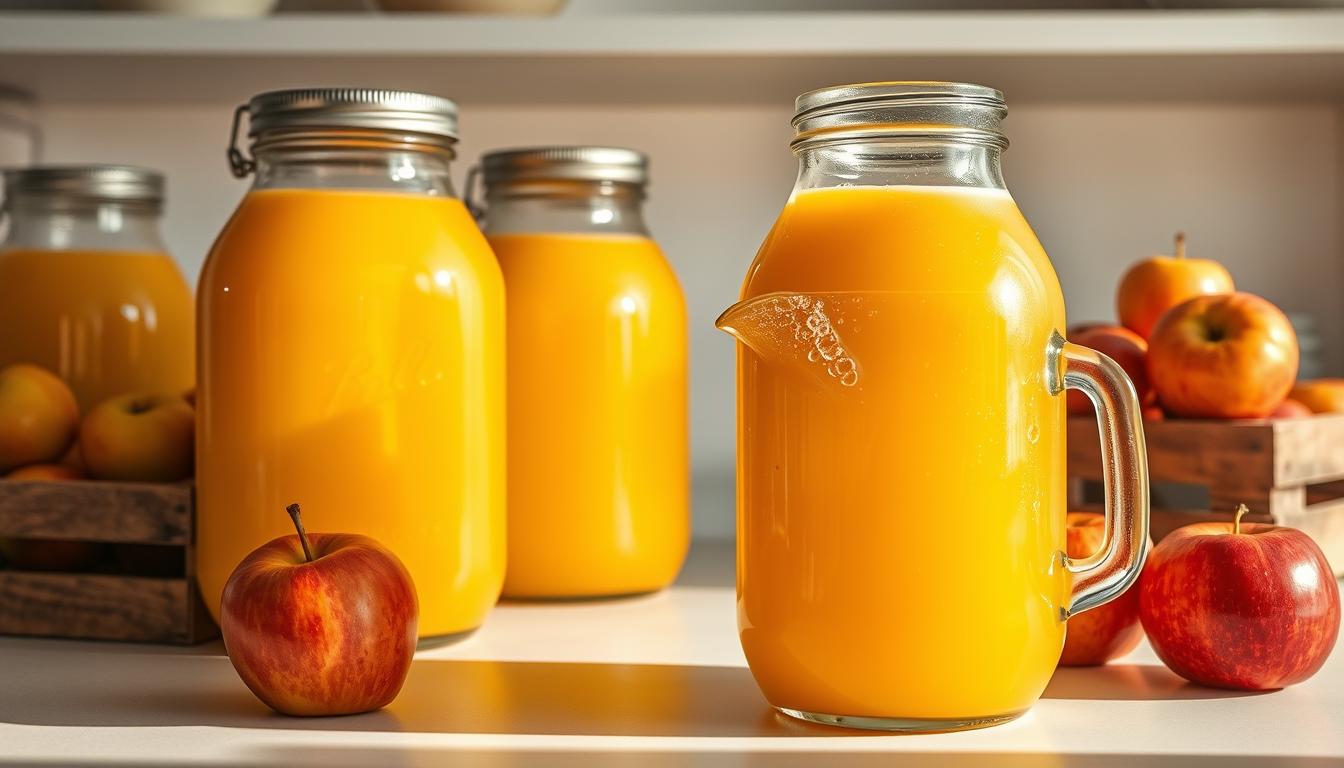
Storing Your Homemade Apple Juice
To enjoy your fresh apple juice over time, follow these storage guidelines. Proper storage not only maintains the juice’s freshness but also preserves its nutritional value and flavor. Whether you plan to consume it immediately or save it for later, understanding your storage options is crucial.
Refrigeration Guidelines
Refrigerating your homemade apple juice is the best way to preserve its freshness for a short period. Store the juice in airtight containers, such as glass bottles or jugs, to prevent oxidation and contamination. Keep the containers in the refrigerator at a temperature below 40°F (4°C). Your juice will typically last for 3 to 5 days when stored properly. Always check for signs of spoilage before consumption, such as off smells or mold.
Freezing Methods
For longer storage, consider freezing your homemade apple juice. Use airtight containers or freezer-safe bags, leaving some space for expansion. Frozen juice can last up to 6 months. When you’re ready to drink it, simply thaw the juice in the refrigerator or thaw it quickly by placing the container in cold water.
Shelf-Stable Options
If you want to store your apple juice at room temperature, you’ll need to pasteurize it first and then store it in sterilized containers. Canning jars or aseptic containers are good options. Ensure the containers are tightly sealed to prevent contamination. Shelf-stable apple juice can last for several months when stored in a cool, dark place.
| Storage Method | Duration | Notes |
|---|---|---|
| Refrigeration | 3-5 days | Store in airtight containers below 40°F (4°C) |
| Freezing | Up to 6 months | Use airtight containers or freezer-safe bags |
| Shelf-Stable | Several months | Requires pasteurization and sterilized containers |
Creative Uses for Leftover Apple Pulp
You can breathe new life into the leftover pulp from your homemade apple juice by incorporating it into various recipes, thus reducing waste and enhancing your culinary creations.
The apple pulp, rich in fiber and flavor, can be repurposed in multiple ways, making your apple juice recipe even more valuable.
Baking with Apple Pulp
One of the most delightful ways to reuse apple pulp is in baking. You can add it to muffins, cakes, and cookies to enhance moisture and flavor. For instance, incorporating apple pulp into your favorite apple spice cake recipe can make it even more delicious and nutritious.
Composting and Other Eco-Friendly Options
If baking isn’t your preference, consider composting the apple pulp. It’s rich in nutrients that can benefit your garden. As As stated by the
US Environmental Protection Agency, composting can help reduce waste sent to landfills and create a nutrient-rich soil amendment.
US Environmental Protection Agency
Alternatively, you can use it as animal feed or even in natural dyes, making youreasy apple juiceproduction process more sustainable.
Flavor Variations and Add-ins
Experimenting with flavor variations can elevate your homemade apple juice to a whole new level. By incorporating different spices and fruits, you can create unique and delicious recipes that cater to your taste preferences.
Spiced Apple Juice Recipes
Adding spices to your apple juice can give it a warm, comforting flavor. Try adding a cinnamon stick or a few cloves to your juice for a festive twist. You can also experiment with other spices like nutmeg or ginger to create different flavor profiles.
| Spice | Flavor Profile | Quantity |
|---|---|---|
| Cinnamon | Warm, Sweet | 1 stick |
| Cloves | Pungent, Aromatic | 2-3 cloves |
| Ginger | Spicy, Refreshing | 1-inch piece |
Fruit Combinations
Combining apples with other fruits can result in exciting new flavors. Consider mixing your apple juice with pear or grapefruit juice for a refreshing twist. You can also try adding a splash of berry juice, such as cranberry or raspberry, for a fruity flavor.
Some popular fruit combinations include apple-pear, apple-grapefruit, and apple-cranberry. Feel free to experiment with different ratios and combinations to find your perfect blend.
Troubleshooting Common Issues
Despite the ease of making apple juice, there are a few pitfalls to watch out for, and knowing how to troubleshoot them can enhance your juicing experience. When making apple juice at home, you might encounter issues such as browning, flavor inconsistencies, or undesirable textures.
Dealing with Browning
Browning occurs due to oxidation when apples are cut or bruised. To minimize this, you can:
- Use lemon juice or ascorbic acid to prevent browning.
- Process your apples quickly after cutting.
- Keep the apple pieces submerged in water until juicing.
Fixing Flavor Problems
If your apple juice tastes too bland or too sweet, consider:
- Blending different apple varieties for a balanced flavor.
- Adjusting the ripeness of the apples used.
- Adding a pinch of cinnamon or other spices to enhance the flavor.
Texture Adjustments
For a smoother juice, ensure you strain it properly. You can:
- Use a fine-mesh sieve or cheesecloth for straining.
- Allow the juice to settle before serving, skimming off any sediment.
By addressing these common issues, you can refine your apple juice-making process, resulting in a fresher, tastier product that you’ll enjoy even more.
Health Benefits of Fresh Apple Juice(apple juice benefits)
Fresh apple juice is packed with nutrients that can have a significant impact on your well-being. When you make apple juice at home, you can enjoy the numerous health benefits associated with it.
The nutritional profile of fresh apple juice is quite impressive. It is rich in vitamins A and C, potassium, and antioxidants. A single serving of fresh apple juice can provide a significant portion of your daily recommended intake of these essential nutrients.
Nutritional Profile
Here’s a breakdown of the key nutrients found in a typical serving of fresh apple juice:
| Nutrient | Amount per Serving | % Daily Value |
|---|---|---|
| Vitamin C | 4.6 mg | 8% |
| Potassium | 170 mg | 5% |
| Antioxidants | Varies | N/A |
Potential Health Advantages
Drinking fresh apple juice can have several potential health advantages, including boosting your immune system and supporting heart health. The antioxidants present in apple juice may help protect against chronic diseases.
By incorporating fresh apple juice into your diet, you can enjoy these benefits and start your day with a refreshing and healthy drink.
Conclusion
You now have the knowledge to create delicious and healthy apple juice in the comfort of your own home. With the simple steps outlined, you can enjoy fresh apple juice in just 30 minutes. The process of making apple juice at home is not only easy but also cost-effective and environmentally friendly.
By choosing the right apples, using basic equipment, and following the steps for preparation and juicing, you can enjoy a refreshing glass of apple juice tailored to your taste preferences. Whether you prefer a sweet, tangy, or spicy flavor, the flexibility to experiment with different apple varieties and add-ins is a significant advantage of making apple juice at home.
Start making your own easy apple juice today and experience the numerous benefits, from the nutritional value to the joy of creating something delicious from scratch. With how to make apple juice now at your fingertips, you can enjoy a healthier and more flavorful beverage option.
FAQ
What is the best apple variety for making apple juice?
The best apple variety for making apple juice depends on your personal taste preferences. Sweet varieties like Gala and Fuji are great for a milder flavor, while tart varieties like Granny Smith provide a tangier taste. You can also mix different varieties for a balanced flavor.
Can I make apple juice without a juicer?
Yes, you can make apple juice without a juicer. You can use a blender to puree the apples and then strain the mixture to extract the juice. This method is a budget-friendly alternative to using a juicer.
How do I prevent browning of apple juice?
To prevent browning of apple juice, you can add a small amount of lemon juice or ascorbic acid to the juice. You can also store the juice in an airtight container in the refrigerator to minimize exposure to air.
What is the shelf life of homemade apple juice?
The shelf life of homemade apple juice depends on the storage method. Refrigerated juice typically lasts for 3 to 5 days, while frozen juice can last for several months. You can also consider pasteurizing the juice to extend its shelf life.
Can I add other fruits or spices to my apple juice?
Yes, you can experiment with different fruits and spices to create unique flavor variations. Some popular options include adding cinnamon, nutmeg, or berries to your apple juice. Feel free to get creative and find your favorite combinations!
How do I make apple juice at home for a large batch?
To make apple juice at home for a large batch, you’ll need to scale up your equipment and ingredients. Consider investing in a larger juicer or blender, and adjust your recipe accordingly. You can also consider using a fruit press for a more traditional approach.
Is homemade apple juice healthier than store-bought juice?
Yes, homemade apple juice is generally healthier than store-bought juice because it allows you to control the ingredients and avoid added preservatives or sugars. You can also choose the freshest and highest-quality apples for your juice.
Can I use conventional apples for making apple juice?
Yes, you can use conventional apples for making apple juice. However, keep in mind that conventional apples may contain pesticide residues, so it’s essential to wash them thoroughly before juicing. Organic apples are a great alternative if you’re concerned about pesticide exposure.
Did you like our recipes ?
You might like!
- How to Master the Chicken Chilli Dry Recipe in 7 Easy Steps
- Easy 5-Ingredient Chicken Pulao Recipe for Busy Days
- 5 Tips for an Unforgettable Grilled Fish Burger Recipe
- Delicious Eggless Burger Bun Recipe – Easy & Homemade
- 3 recipes to how to make sweet buns at home
If you have any questions or inquiries, please contact us in the page contact us or in email [email protected] or my instagram


